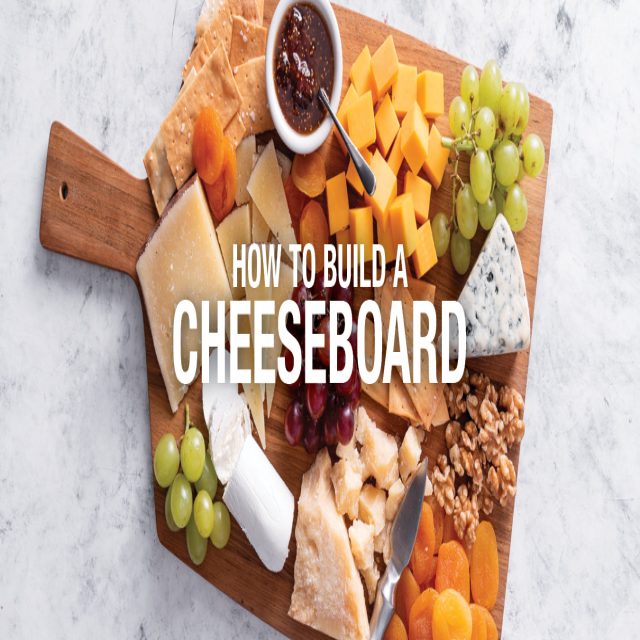
Who doesn’t love snacking from a cheese board? It’s a winner no matter what kind of party you’re planning or how many people you’re hosting. Cheese boards are tried-and-true crowd-pleasers, but just as satisfying to make when a few friends are heading over for a weekend hangout.
Follow these steps and watch the video tutorial to build a perfect cheese board every time.
Start with the board
Choose a cheese board large enough to fit all your ingredients comfortably, with room for everyone to slice pieces of cheese and grab other ingredients.
No cheese board?
Almost any flat surface can be a cheese board, so why not get creative? Use a cutting board, a parchment-lined baking sheet, or a clean chalkboard (so you can write the names of each cheese on the board for reference).
What cheeses to choose?
Make it easy and choose 3 or 4 types of cheese with a variety of textures to mix it up. Make it even easier and pick one of these suggested cheeses from each of the following categories:
Hard: Parmesan, Asiago, Gouda
Semisoft: Swiss, Havarti, Manchego
Soft: Brie, Camembert, Chevre
Blue: Gorgonzola, Stilton, Roquefort
Give your board balance
Add crunchy, sweet, and salty elements to complement the creamy cheese. Place them in bowls or in small piles in various spots on the board so guests can grab what they’re craving.
Try these add-ons:
Crunchy: crackers, crostini, walnuts, or pecans
Sweet: apple or pear slices, grapes, dried apricots, or dates
Salty: Marcona almonds, pitted olives, sliced salami, or prosciutto
Make it ahead
Cheese is meant to be served at room temperature, not chilled, to bring out its flavors. Assemble the board about 2 hours before serving and cover loosely with plastic wrap or a clean dishtowel if necessary.
Share with us your favorite cheese board combinations!


